Control Rigging
There is apparently no published airframe manual for a Sportster. The rigging is therefore at the discretion of the mechanic.
For the ailerons, early model Sportsters route the aileron cables off the front stick, through the leading of the wings and have pulleys located on the airframe in the pilot's area. Later model 9000 Sportsters have the pulleys and cables routed from the rear stick and the pulleys are in the passenger seat area.
At full deflection, the lower aileron cable cuts into the aileron leading edge just slightly. This is apparently normal for Sportsters.
The elevator is operated by a push-pull tube off the sticks, which goes through a universal joint at the rear stick, then a pushrod leads back to the rear cabin bulkhead where a bellcrank is attached. The bellcrank actuates the elevator cables which run down the rear tailcone, one cable going through a spring-loaded fairlead (bogus design) and a locator pulley.
Rudder cables are conventionally routed from the pedals down each side of the airplane. The pedals have a tensioning spring located on the pilot's pedals.
Bearings
Engine
See http://www.vintageaircraftengines.com for Ken-Royce operational tips and parts information.
List of Things Done to My Plane
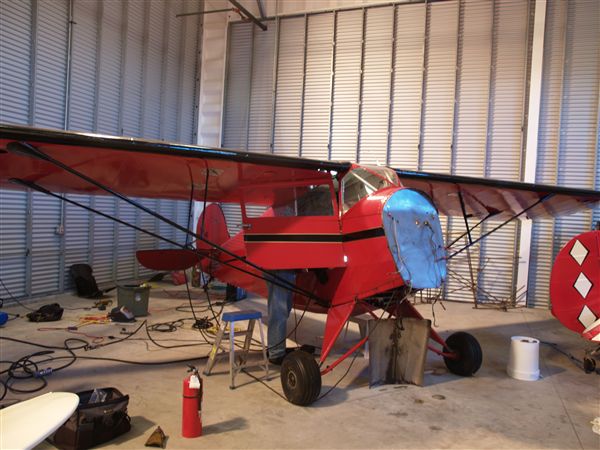
My plane had been sitting in a museum when I purchased it, so a number of things needed fixing.
- New tires (old tires weather checked)
- Aileron and elevators cables replaced (rusted)
- Tailwheel spring attaching bracket crack welded
- New tailwheel steering cable attach clips (bent)
- New tailwheel spring bolts (beat up and bent bolts)
- Cracked oil tank attach strap
- Cracked engine mount and engine mount adapter ring (in several places).
- New Engine Oil hoses (hard, aged out hoses)
- Locking push-pull controls for carb heat and choke.
- Altimeter overhaul (very hard to adjust Kollsman window setting, ominous grinding noises)
- Turn and Bank overhaul (inop, but a nice old Pioneer unit)
- Bearings replaced on stick
- Prop nut torque checked.
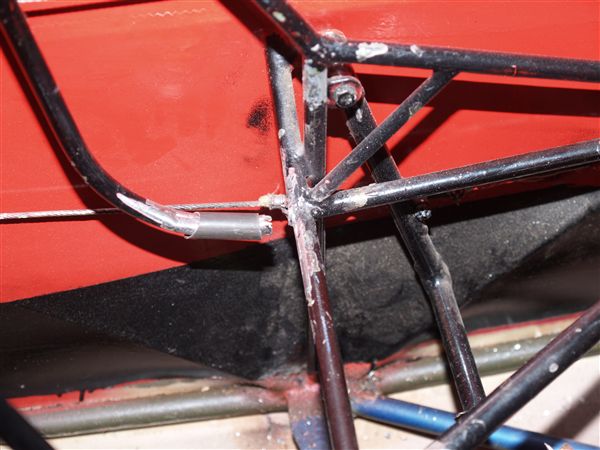
- Cracked tubes on the pilot's seat.
Here's the cracked seat tube, with the new reinforcement sleeve slid over the tube in preparation for welding. Based on the old weld in the area, the seat tubes had previously cracked and had been repaired repeatedly.
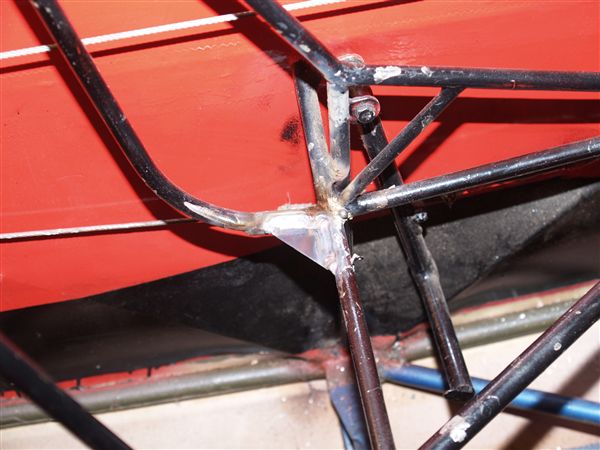
Ken Woods from Allied Technical Services in Seattle came out on site and weld-repaired the seat welds. Ken installed a sleeve reinforcement over the cracked area and put in a gusset. Much of the welding happened upside down with a mirror. There is only about 3/4" clearance between the tubing and the fabric covering the inside of the cabin, and it is 1/2" thin tubing. Ken is a welding god. The tubes now are plenty strong.
The engine has needed a bit more work, since all of the roller rocker arm tips were flat spotted and in need of replacement. Also two of the valves tips had divots worn into them, and several rocker box studs were pulling out and needed helicoils. The more I took apart the engine, the more I was worried, so the engine is now undergoing a full major overhaul. See www.VintageAircraftEngines.com for details.